Yes, you can use a regular oven for sublimation, but you need to make sure that the oven is set to the correct temperature and that the object you are trying to sublimate is placed on an oven-safe surface. You also need to make sure that there is good ventilation in the room where you are working, as the fumes from the sublimation process can be dangerous.
Mug Press vs Oven for Sublimation Tumblers
- Preheat your oven to 400 degrees Fahrenheit
- Place your sublimation blank on the oven-safe surface
- Cover the blank with a sheet of sublimation paper
- Place the covered blank in the preheated oven for three minutes
- Remove theblank from the oven and allow it to cool completely before handling
Can You Sublimate Tumblers in a Regular Oven
If you’re looking to get into sublimation and want to know if you can use a regular oven to do it- the answer is yes! However, there are some things you need to take into account. First, you’ll need an oven that goes up to 400 degrees Fahrenheit or higher.
Second, you must use a heat-resistant tumbler that’s made of polyester or another polymer material. Finally, make sure your design is printed on special sublimation paper using a reverse image so that it transfers correctly onto your tumbler.
Now that you know the basics, here’s a step-by-step guide on how to sublimate in a regular oven:
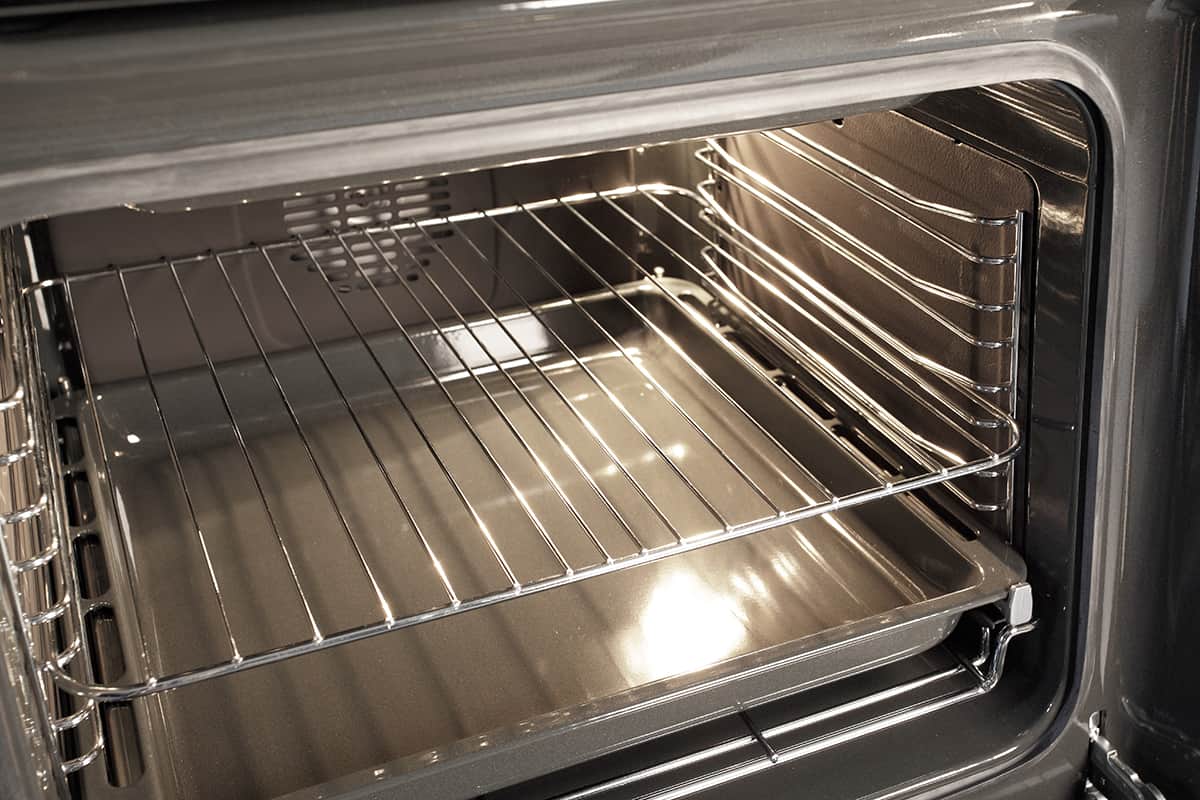
1. Preheat your oven to 400 degrees Fahrenheit or higher. Place your tumbler upside down on a sheet of aluminum foil on the middle rack of the oven.
2. Put your sublimation paper face down on top of the tumbler (printed side up).
Use another piece of aluminum foil to cover the entire setup so that no air escapes during the process.
3. Let the tumbler heat in the oven for 3-5 minutes before removing it carefully using gloves or tongs (it will be hot!). Carefully peel off the top layer of aluminum foil and discard it along with the Sublimation paper.
Enjoy your new custom design!
Credit: howdykitchen.com
What Kind of Oven Do You Need for Sublimation Tumblers?
If you’re looking to get into sublimation tumbler making, you’ll need an oven that can reach temperatures of 400 degrees Fahrenheit or higher. A home oven typically won’t be able to reach these high temperatures, so you’ll either need an industrial oven or a heat press.
Industrial ovens are expensive, but they’re worth the investment if you plan on doing a lot of sublimation tumbler making.
Heat presses are more affordable and can also reach the high temperatures needed for sublimation.
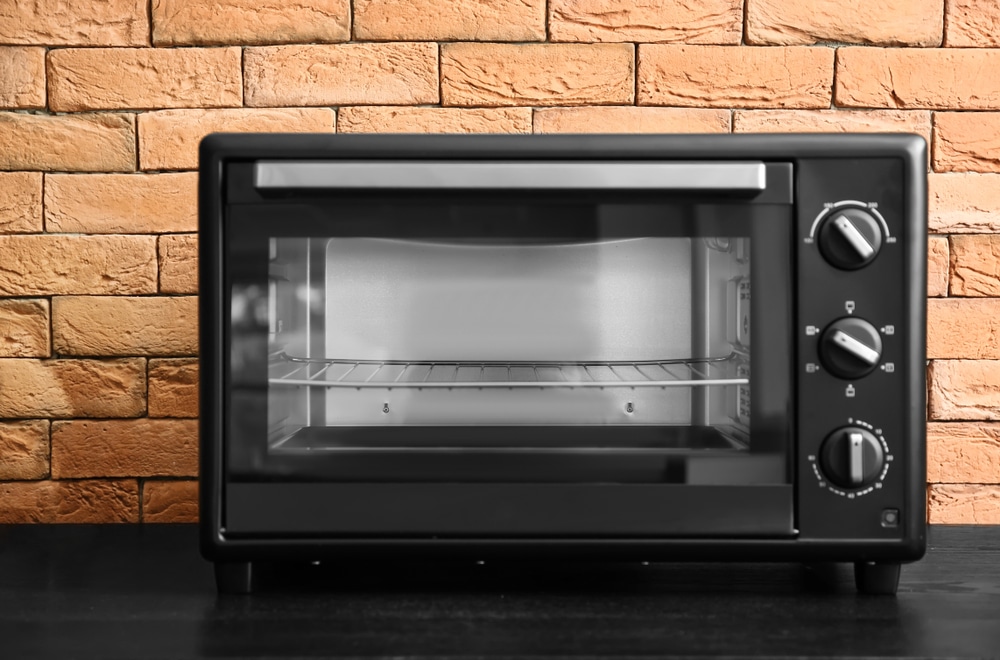
Can I Use a Toaster Oven for Sublimation?
When it comes to using a toaster oven for sublimation, the answer is yes! However, there are a few things you need to take into account in order to ensure successful transfer. First and foremost, make sure your toaster oven can reach temperatures of 400 degrees Fahrenheit; this is the temperature required for sublimation.
Secondly, use an all-metal baking sheet – avoid anything non-stick or with a plastic coating, as these can release harmful chemicals when heated. Finally, be sure to preheat your oven before placing your substrate inside; this will help ensure an even transfer.
With those considerations in mind, let’s get started!
Begin by placing your metal baking sheet on the bottom rack of your preheated toaster oven. Then place your substrate – coated side up – on top of the baking sheet. Close the door and allow the transfer to take place; depending on the size of your substrate, this could take anywhere from 1-5 minutes.
Once the time is up, open the door and carefully remove your item; it will now be permanently imprinted with your desired design!
How Long Do You Put Sublimation Tumbler in Regular Oven?
If you’re looking to add a personal touch to your kitchenware or give a unique gift, sublimation mugs are a great option. But how long do you need to put them in the oven for?
The answer depends on the size and type of mug you’re using.
For most standard-sized ceramic mugs, you’ll need to heat them in the oven for at least 20 minutes at 400 degrees Fahrenheit. If your mug is larger or made of glass, you may need to increase the cooking time to 30 minutes.
Once the allotted time is up, carefully remove the mug from the oven (use oven gloves!) and let it cool completely before handling.
Your newly personalized mug is now ready to use!
Can You Use an Air Fryer Oven for Sublimation?
No, you cannot use an air fryer oven for sublimation. Sublimation is a printing process that uses heat to transfer dye onto a substrate, such as fabric or paper. The substrate must be placed on top of the inkjet printable transfer paper, which is then inserted into the heat press.
Air fryers do not get hot enough to perform this task.
Conclusion
Sublimation is a printing technique that allows for full-color, all-over printing on fabric. Unlike screen printing or digital printing, sublimation does not require a separate piece of equipment; you can use a regular oven for sublimation.
To get started with sublimation, you’ll need some special paper and ink.
The paper is coated with a substance that allows the ink to transfer from the paper to the fabric. The ink is specially formulated to turn into gas when heated, so that it can be absorbed by the fabric.
Once you have your materials, you’ll need to set up your workspace.
You’ll need an ironing board and an iron, as well as a heat press or a regular oven. If you’re using an oven, you’ll need to place your item on an elevated surface so that it’s not in direct contact with the heating element.
Now you’re ready to print!
Sublimation works best with polyester fabrics, but it will also work on other synthetic fabrics like nylon and spandex. When choosing your design, keep in mind that dark colors will print best and lighter colors may fade over time. Once you’ve printed your design onto the paper, all you need to do is place it face-down onto your fabric and apply heat.
If you’re using a heat press, set it to 400 degrees Fahrenheit and let it warm up while you position your design on the fabric. If you’re using an oven, preheat it to 400 degrees Fahrenheit before placing your fabric inside. Make sure that there’s plenty of space around your item so that air can circulate freely; otherwise, your design may not come out evenly cooked!
Cook time will vary depending on the type of fabric being used; polyester should only take about 60 seconds while nylon may take up to 90 seconds. Be sure to keep an eye on your project so that it doesn’t overcook!
After cooking time is up, carefully remove your project from the heat source and allow it to cool completely before handling further.
Your design should now be permanently embedded in the fabric!