To use a camping coffee pot, first make sure that all the parts are clean and dry. Next, add cold water to the pot and put it on the stove over high heat. Once the water comes to a boil, add ground coffee to the filter basket.
Then, reduce the heat to medium and let the coffee brew for 3-5 minutes. After brewing, remove the pot from the heat and let it sit for a minute before serving.
- Fill the pot with water and coffee grounds
- Place the pot over a campfire
- Allow the water to come to a boil
- Remove the pot from the fire and pour into cups
How to Use a Percolator Camping Coffee Pot
How to Use a Percolator Coffee Pot
Are you a coffee lover? If so, you’ve probably used a drip coffee maker to make your morning brew. But have you ever tried using a percolator coffee pot?
Percolators are making a comeback and are becoming popular again. Here’s how to use one:
First, add water to the pot.
The amount of water you’ll need will depend on how much coffee you want to make. Next, add ground coffee to the pot. Again, the amount of coffee you’ll need will depend on how strong you like your coffee.
Then, place the pot on the stove over medium heat and bring it to a boil.
Once the water reaches a boiling point, it will begin to percolate up through the grounds and into the upper chamber of the pot. This process will continue until all of the water has been filtered through the grounds and into the upper chamber.
At this point, your coffee is ready to drink! Just be careful not to let it boil for too long or else your coffee will be bitter.
How to Use an Electric Coffee Percolator
Whether you’re an experienced coffee drinker or just getting started, learning how to use an electric coffee percolator is a great way to make delicious coffee at home. While there are many different ways to make coffee, using a percolator is one of the easiest and most foolproof methods. Plus, it’s a great way to make large batches of coffee at once, perfect for entertaining guests or hosting a small gathering.
Here’s everything you need to know about using an electric coffee percolator:
What is an electric coffee percolator?
An electric coffee percolator is a type of coffeemaker that uses hot water to brew coffee.
It works by heating up water in the bottom chamber of the pot and then forcing it up through a tube into the top chamber where the grounds are located. As the hot water runs over the grounds, it extracts flavor and aroma from the beans, resulting in fresh, flavorful coffee.
How do I use an electric coffee percolator?
Using an electric percolator is easy! Simply add water to the bottom chamber of the pot and then add ground Coffee beans (about 1-2 tablespoons per cup) to the basket in the top chamber. Close lid and plug in your pot.
Most pots have automatic shut off so you don’t have to worry about burning your Coffee . Your Coffee will be ready within minutes!
What are some tips for making great tasting Coffee with my percolator?
-Use good quality Coffee beans that are freshly ground for best results
-Experiment with different grind sizes depending on your preference
-Start with shorter brewing times and increase as needed until desired strength is achieved
-Add milk or cream if desired
By following these simple tips, you’ll be well on your way to making delicious Coffee at home using your new electric percolator!
How to Make Coffee in a Percolator
When it comes to making coffee, there are a lot of different methods out there. Some people swear by drip coffee makers, while others prefer the French press method. But if you really want to make a great cup of coffee, you should definitely try making it in a percolator.
A percolator is a type of coffee maker that forces hot water up through the grounds and into the pot. This produces a much stronger cup of coffee than other methods, and it’s also pretty easy to do. Just follow these simple steps and you’ll be enjoying a delicious cup of percolator-brewed coffee in no time.
1) Start by adding cold water to your percolator’s chamber. You’ll need enough to fill it up about halfway.
2) Next, add your coffee grounds to the chamber.
Make sure they’re evenly distributed so that all of the water will come into contact with them as it’s heated up.
3) Now place your percolator on the stove over medium heat and wait for it to start boiling. Once it reaches a boil, reduce the heat slightly so that it maintains a steady simmer.
4) Let your percolator simmer for about 10 minutes or until all of the water has been forced up through the grounds and into the pot. If you want an even stronger cup of coffee, you can let it brew for longer. Just be careful not to let it boil dry or else your coffee will taste burnt.
5) Once brewing is complete, remove your percolator from the heat and serve immediately. Enjoy!
How to Use Ozark Trail Coffee Pot
When you’re ready to start your morning, the Ozark Trail coffee pot is a great way to make coffee. Here’s how to use it:
1. Fill the pot with water.
The amount of water you need will depend on how many cups of coffee you want to make.
2. Place the filter inside the pot.
3. Add ground coffee to the filter.
Again, the amount will depend on how many cups you’re making.
4. Put the pot on the stove and turn up the heat until the water boils.
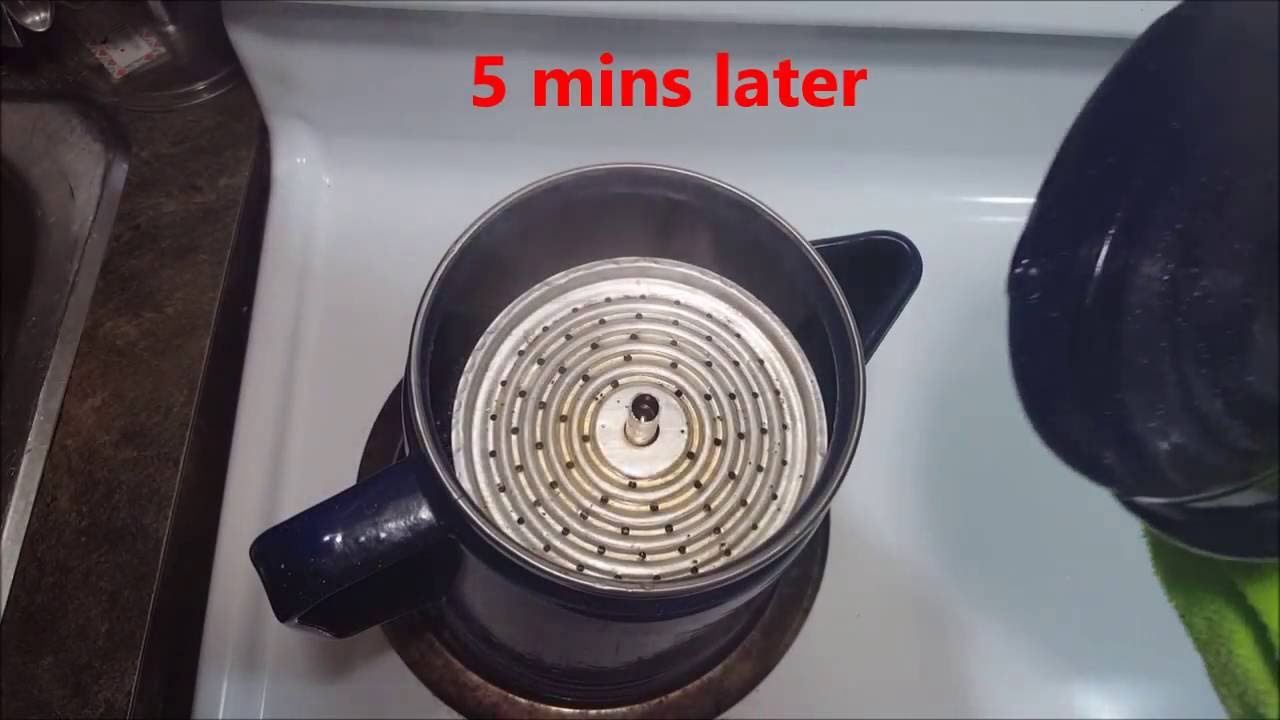
5. Once it reaches a boil, turn off the heat and let it sit for about 5 minutes to brew before serving.
6._ Enjoy!
Credit: www.freshoffthegrid.com
How Long Do You Percolate Coffee on a Camp Stove?
Percolating coffee on a camp stove can be a bit of a process, but it is well worth the effort for fresh, hot coffee in the morning. The length of time that you need to percolate coffee will depend on the strength of coffee that you like as well as how much water you are using. For a weaker cup of coffee, you can expect to percolate for around 3-5 minutes, whereas if you prefer a stronger brew, it may take 6-8 minutes.
If you are using a typical two-burner camp stove, it is best to set up your pot of water on one burner and your percolator basket on the other. This way, the water can come to a boil while the grounds are brewing. Once the water reaches a boiling point, reduce the heat and let it simmer for about 30 seconds before turning off the burner completely.
At this point, carefully transfer the hot water to your percolator basket filled with grounds and stir gently.
Now it’s time to put your lid on and begin brewing! Depending on how much coffee you are making, it may take some time for all of the water to filter through the grounds.
Once all of the liquid has dripped through, give your coffee a final stir and enjoy!
What Kind of Coffee Do You Use in a Camping Coffee Pot?
When it comes to making coffee while camping, there are a few different ways that people like to do it. Some people will just use whatever coffee they have on hand, whether that be pre-ground or whole beans, while others will go out of their way to get a specific type of coffee that they think will taste best when made in a camping coffee pot.
There are a few things to keep in mind when choosing what kind of coffee to use for your camping trip.
The first is the grind size. If you’re using pre-ground coffee, you’ll want to make sure that it’s coarsely ground so that it doesn’t end up over-extracted and bitter. If you’re grinding your own beans, then you can experiment with different grind sizes to see what you prefer.
Just keep in mind that the finer the grind, the longer it will take for the water to filter through and make its way into your cup.
Another thing to consider is the roast level of your coffee. Some people like dark roasted coffees for their rich flavor, while others prefer lighter roasts for a more delicate cup.
It really comes down to personal preference, so experiment with different roasts until you find one that you like.
Finally, pay attention to how much coffee you’re using per pot of water. This will vary depending on the size of your pot and how strong you like your coffee, but as a general rule of thumb, we recommend using about 2 tablespoons (10 grams) of ground coffee per 8 ounces (240ml) of water.
This should yield a nice strong cup of coffee without being too bitter or overwhelming.
How Do You Use Enamel Camping Coffee Pot?
Assuming you would like tips on how to use an enamel camping coffee pot:
If you are using an enamel camping coffee pot for the first time, start by prepping the pot. Do this by boiling water in it and then discarding the water.
This will help remove any manufacturing residue that might be present. Once your pot is prepped, add your desired amount of grounds and water. Be sure to use a coarser grind than you would for drip coffee as this will help prevent clogging.
Place the pot on your stovetop over medium heat and wait for it to come to a boil; this will take approximately 5-10 minutes. Once boiling, reduce the heat slightly and let the mixture simmer for 3-5 minutes before removing from heat. Doing this will result in a full bodied cup of coffee.
Finally, pour into your mug and enjoy!
How Much Coffee Do You Put in a Campfire Percolator?
When making coffee in a campfire percolator, it is important to use the right amount of coffee. Too much coffee can make the coffee taste bitter, while too little can make it weak. The general rule of thumb is to use two tablespoons of ground coffee per cup of water.
This can be adjusted to taste, but using more or less than this amount may result in less-than-optimal coffee.
If you are making coffee for a group, it is best to make a bit more than you think you will need. This way, if someone wants a second cup, there will be enough left over.
It is also important to keep in mind that boiling water takes longer over a campfire than on a stovetop, so be patient when waiting for the water to come to a boil. Once the water reaches a boiling point, let it boil for about 30 seconds before adding the grounds and placing the lid on the percolator.
Periodically check on the percolator throughout the brewing process to ensure that everything is going according to plan.
After about 10 minutes (or when the desired strength is reached), remove the pot from the heat and let it sit for another minute or two before pouring into cups and serving. Enjoy your fresh-brewed cup of joe!
Conclusion
If you love coffee and camping, then you need a camping coffee pot! This guide will show you how to use one so that you can enjoy your favorite brew while out in the great outdoors.
First, gather all of your supplies.
You will need a camp stove, some water, ground coffee, and a cup. Then, set up your camp stove and put some water in the pot. Heat the water until it boils and then let it cool for about 30 seconds.
Next, add your ground coffee to the pot. For best results, use about 2 tablespoons per cup of water. Finally, put the lid on the pot and let it steep for 3-5 minutes before pouring into your cup.
Enjoy!